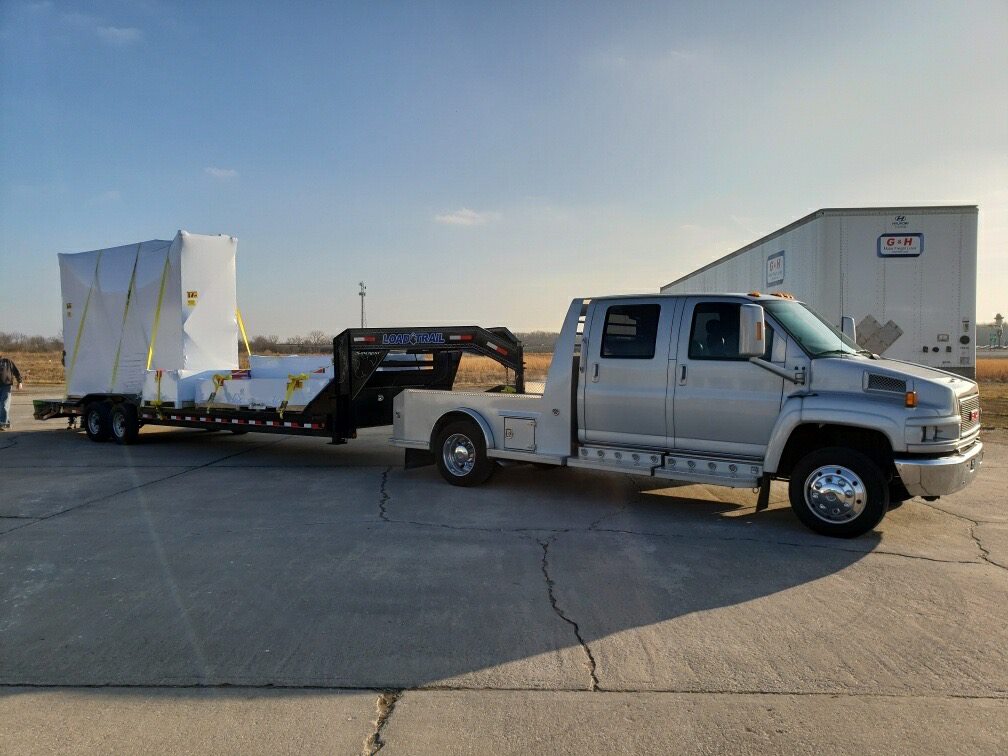
Your boat, equipment, or other asset in pristine condition is ready to be covered and shipped. The surface is perfect; the paint, immaculate. But when it arrives at its destination, removing the cover reveals scratch marks and surface etching that weren’t there when you shipped it. What happened along the way? The most likely answer is that the protective covering used during transit was not up to the task and left your product damaged and unfit for sale. Your end customer is dissatisfied, the product gets rejected, and you’re left footing the bill. Does this sound familiar? Well, we’ve got you covered. We’ll show you the best ways to prevent this kind of unfortunate outcome by using the right covering material and installation techniques, so you’re never left with product and financial loss.

Common causes of surface scratching and etching
Shipping and storing assets with delicate surfaces require a protective cover that’s designed to provide the gentle yet secure touch needed to withstand the damage risks of transit. All too often, delicate surfaces end up being damaged because the protective cover was not installed properly or was the wrong material choice for the product.
One major risk of improper installation and material choice is chaffing. As movement occurs during transit, covers that aren’t properly fitted may shift, causing friction between the cover material and the surface of the asset. The cover material itself could be the cause of unwanted scratching when movement occurs but the effects can also be made worse with the intrusion of dust, dirt, and other abrasive elements underneath the cover.
Avoid using risky material
The first step in preventing scratches and etching from showing up on the surface of your product is choosing the right covering material and avoiding the ones that are likely to cause you problems while on the road.
Many manufacturers rely on straight shrink wrap. While this method may be acceptable in some cases, it’s not recommended for transit, especially on items with delicate surfaces. Shrink wrap can be thought of as having the texture of fine-grade sandpaper and, when not installed correctly, it can cause a great deal of scratching.
Other common choices that turn out to be a headache in the long run are non-shrink travel covers and canvas covers. These options are not usually custom fit which prevents them from having a fit that’s tight enough, leaving space between the product and the cover. These materials are also heavier which causes more movement and therefore more scratching during transit.
The right material for the job
Now that you know what not to look for in your protective cover material, how do you know what to look for instead? A few helpful indicators will make your search much easier.
You want to make sure the material you’re using is specifically designed to protect Class A automotive finishes. This will typically include non-abrasive features that won’t cause surface friction, thereby preventing the material itself from causing damage. For example, at Transhield, we test all our materials for paint and finish abrasion using a modified ASTM D-2486 testing method. This allows us to ensure we’re providing protective covers that are designed to accommodate paint finishes and other types of delicate surfaces.
Honing your installation process
Having found the right protective cover, the next crucial step is making sure your installation process yields consistent, effective results. Even the best cover won’t work properly without correct installation.
First, clean all surfaces of the unit before beginning any cover installation. The surface should be clear of all debris, dirt, dust, etc., that could get trapped beneath the cover and cause abrasion. Cleanliness is equally important for the cover itself. Be sure the cover material has not picked up any debris that would be transferred to the surface of the unit during installation.
Next, perform the installation the same way each time so it becomes second nature, and your results are consistent. Apply the cover so it’s as tight as possible. After the cover is on, retighten any loosened areas and make sure it’s secured well about the bottom edges to minimize any gaps or openings between the surface of the unit and the cover. This will help prevent wind tunneling and debris intrusion. Whenever possible, heat-shrink the cover as well to get maximum tightness.
Worry-free shipping and storage
Etching and scratching are avoidable hassles during the shipping and storage processes. It all comes down to the type of protective covering you’re using and how well you’re using it. Once you’ve found the perfect cover for your shipping and storage needs, and honed your installation process, worrying about delicate surfaces being damaged during transit will be in the rearview mirror.