Every cover we produce begins with our design and prototyping process. Because our covers are custom-fit for every object they protect, the volume of unique designs we process on an annual basis is staggering – nearly 13,000 unique designs in 2021 alone. The efficiency throughout this process, and the end result of each prototype, relies on three core components: Acquiring accurate object data; conceptualizing intended functionality and use of the cover; and the ability to produce prototypes at a rapid-fire rate.
Our output is a testament to our teams collaborative efforts, as well as the initial efforts on behalf of the customer during conceptualization. Simply put, accuracy in the beginning equals accuracy and speed to the end.
Starting with the right information
Before a cover is designed, several key questions must be asked regarding the intended use and functionality. Answering these questions helps determine the proper material selection, required cover features, design methods, reinforcements, seam technologies, and time to completion. Answering these questions after it’s designed and already at the initial fitting stage can extend the time it takes to approve the cover, requiring additional design work and possibly additional fittings.
INTENDED USE:
- Operational
- A cover that is repeatedly applied and removed on an operational item
- Specific industrial items, daily military covers, active aircraft cover
- Storage
- The cover is intended to protect an object during long- or short-term storage.
- May also require removal and reapplication, much like an operational cover
- Can be made from shrink or non-shrink materials
- Transportation
- Items that are going to be transported over the road
- Normally made from our patented shrink materials
- Can be made from other non-shrink materials
COVER FUNCTIONALITY:
- When covered, is the unit freestanding or is it placed on a pallet or cradle?
- Are we terminating the perimeter of the cover to the object or the pallet/cradle?
- How is the item lifted to its final storage or transportation location?
- Do we need openings for lifting eyes, fork pockets, etc.?
- How is the item secured to the transportation vehicle?
- Do we need openings for load-binding chains or straps?
- Are items on the object needed to be visible or accessible for inspection or identification?
- Windows or access panels in specific locations can provide that functionality
- Which direction will the item be transported if on an open trailer?
- Depending on the shape and potential openings underneath the unit, do we need to use a diaper?
Other factors may come into play and identifying them up front is important to your time to an approved cover.
Creating a custom design
Once the intended use and functionality have been established, we move into the design process. Listed below are four methods we use to create a Transhield cover. 3D models and/or On-Site Scanning are the fastest methods, but for simple objects these may not be needed.
DESIGN METHODS:
- Simple 2D measurements of the object
- 2D CAD prints (provided by customer)
- 3D models (provided by customer)
- On-Site TranSCAN®
SIMPLE 2D MEASUREMENTS
For simple objects such as boxes and standard-shaped items, simple measurements can provide means to an accurately fitting initial prototype, so long as the item is measured properly. If additional cover features are needed, their placement is only as accurate as the diligence done by the person measuring it.
2D CAD PRINTS
Designing from customer-provided 2D CAD prints is highly effective for boxes and standard-shaped items. These prints go a step above measuring by hand, as they are digital measurements with a visual representation of the object. Prints can also be scaled to size and designed in a 3D manner. This is effective to a degree, but not nearly as accurate as when using 3D models or scans.
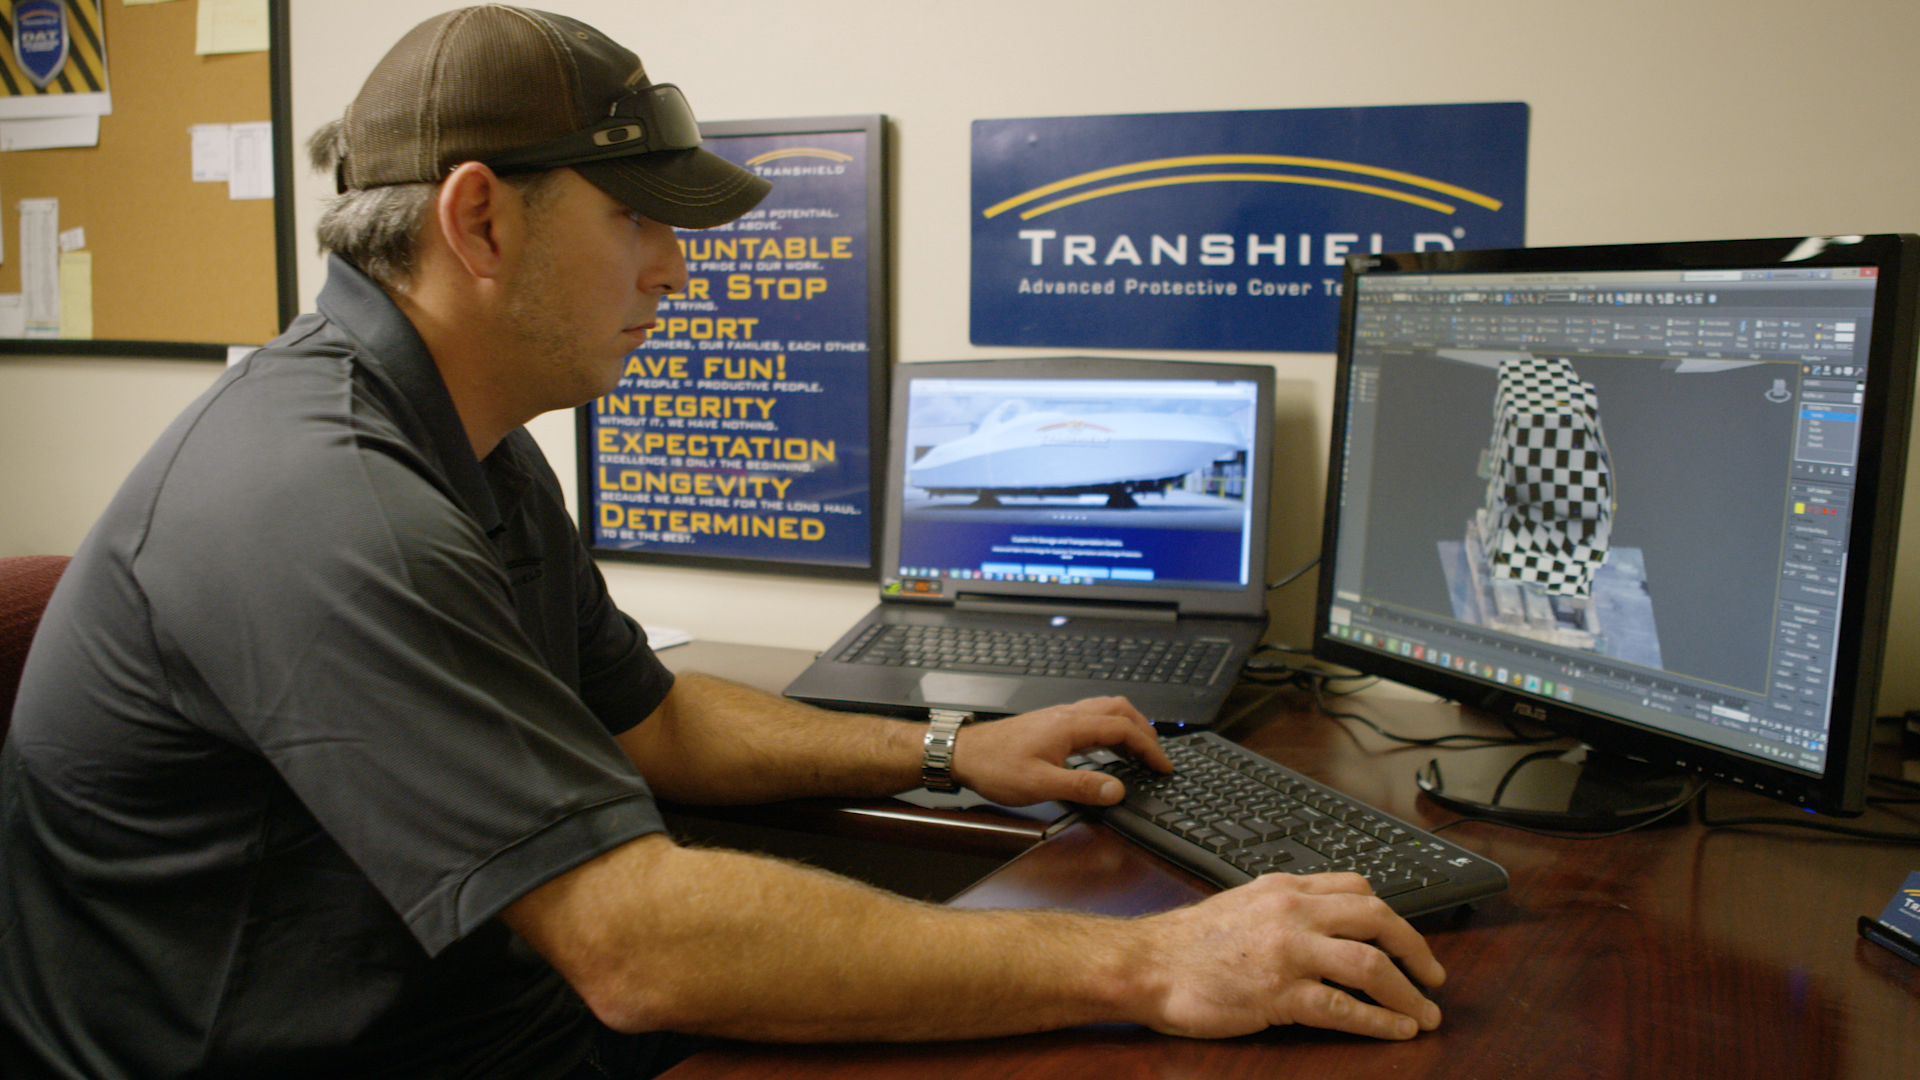
3D MODELS
Designing from a customer-provided 3D CAD file is a highly accurate cover design method, especially on items with contouring beyond a simple shape. It allows full 3D rotation during the design process, greater ability to check the fit, and far more accurate feature placement. It also provides the ability to render the object with a cover for design and feature inspection with the customer before a prototype is ever created.
ON-SITE TRANSCAN®
This is comparable to utilizing a 3D model provided by the customer. The only drawback is a trip must be scheduled to get on-site to scan the item. If it is the only option available to acquire the object data, this process will be used.
This can add initial time to the production process, but on the flip side, items in 3D models often end up being slightly different in comparison to the final assembled unit. Meaning the cover may still need to be adjusted. When scanning the actual object, you can usually be assured you are acquiring data for the object in its truest shipping/storage form.
When the initial data is acquired, and intended use and functionality have been achieved, it is then submitted to the design team and the project begins. There are two key processes during the design of each item:
PATTERN CREATION
- Cover is created using 3D software and provided 3D or scan data
- 2D print can be used as well
- Covers created via simple measurement may bypass the 3D process
- Features are placed in their specified locations
- Cover is flattened and sent for final design
FINAL DESIGN
- Flattened pattern is split for material efficiency depending on intended use
- Seam tolerances, assembly notches, and final sewers’ prints are established
- Bill of materials, labor estimations, and packaging requirements are established
- Final Production Process Plans and Work Instructions are created for approved covers
Once each step in the process has been completed, the design is sent to the production team. The first article is produced and shipped to the customer for an initial fitting of the prototype cover. Any adjustments or alterations needed are applied to the design until the final prototype is approved. Then, production kicks into high gear to supply you with the perfect protective cover for your equipment.
From concept to completion, we work closely with you and your team to collaborate on the perfect design. To find out more or to begin your prototyping process, get in touch with us today.