If you’re a prefabricated (prefab), modular construction manufacturer, or any kind of factory-built home manufacturer, you know the challenges that come with preparing your pre-built units for flatbed transportation and storage. The packaging step in your production process can often seem like a nuisance, but you know it’s imperative. Failing to properly protect your newly manufactured modules can lead to a damaged product, warranty claim, dissatisfied customer, or worse, a lost customer and lost revenue.
So you know, like the rest of your manufacturing processes, this step requires a plan to ensure delivery of a quality product. But a quality product doesn’t happen by chance; you need to have a defined process in place to make sure your modular units arrive factory fresh, whether they’re traveling 100 miles, or 1,000.
At Transhield, we’ve helped dozens of pod and modular manufacturers keep they’re newly produced modules in pristine condition during flatbed transit and long-term storage. Along our journey of helping manufacturers, we’ve taken note of the packaging practices that lead to the best protection results for modular units. In this guide, we’ll share with you what we’ve learned.
Whether you’re an experienced pod manufacturer, or you’re just looking for ways to be more effective at the packaging stage in your process, we hope you’ll find something in this guide (video version) that you can implement. And If you need a template to help kickstart your packaging process, be sure to download our pre-filled packaging process resource for modular units that you can edit and make your own:

Make sure unit is dry and clean from water and debris
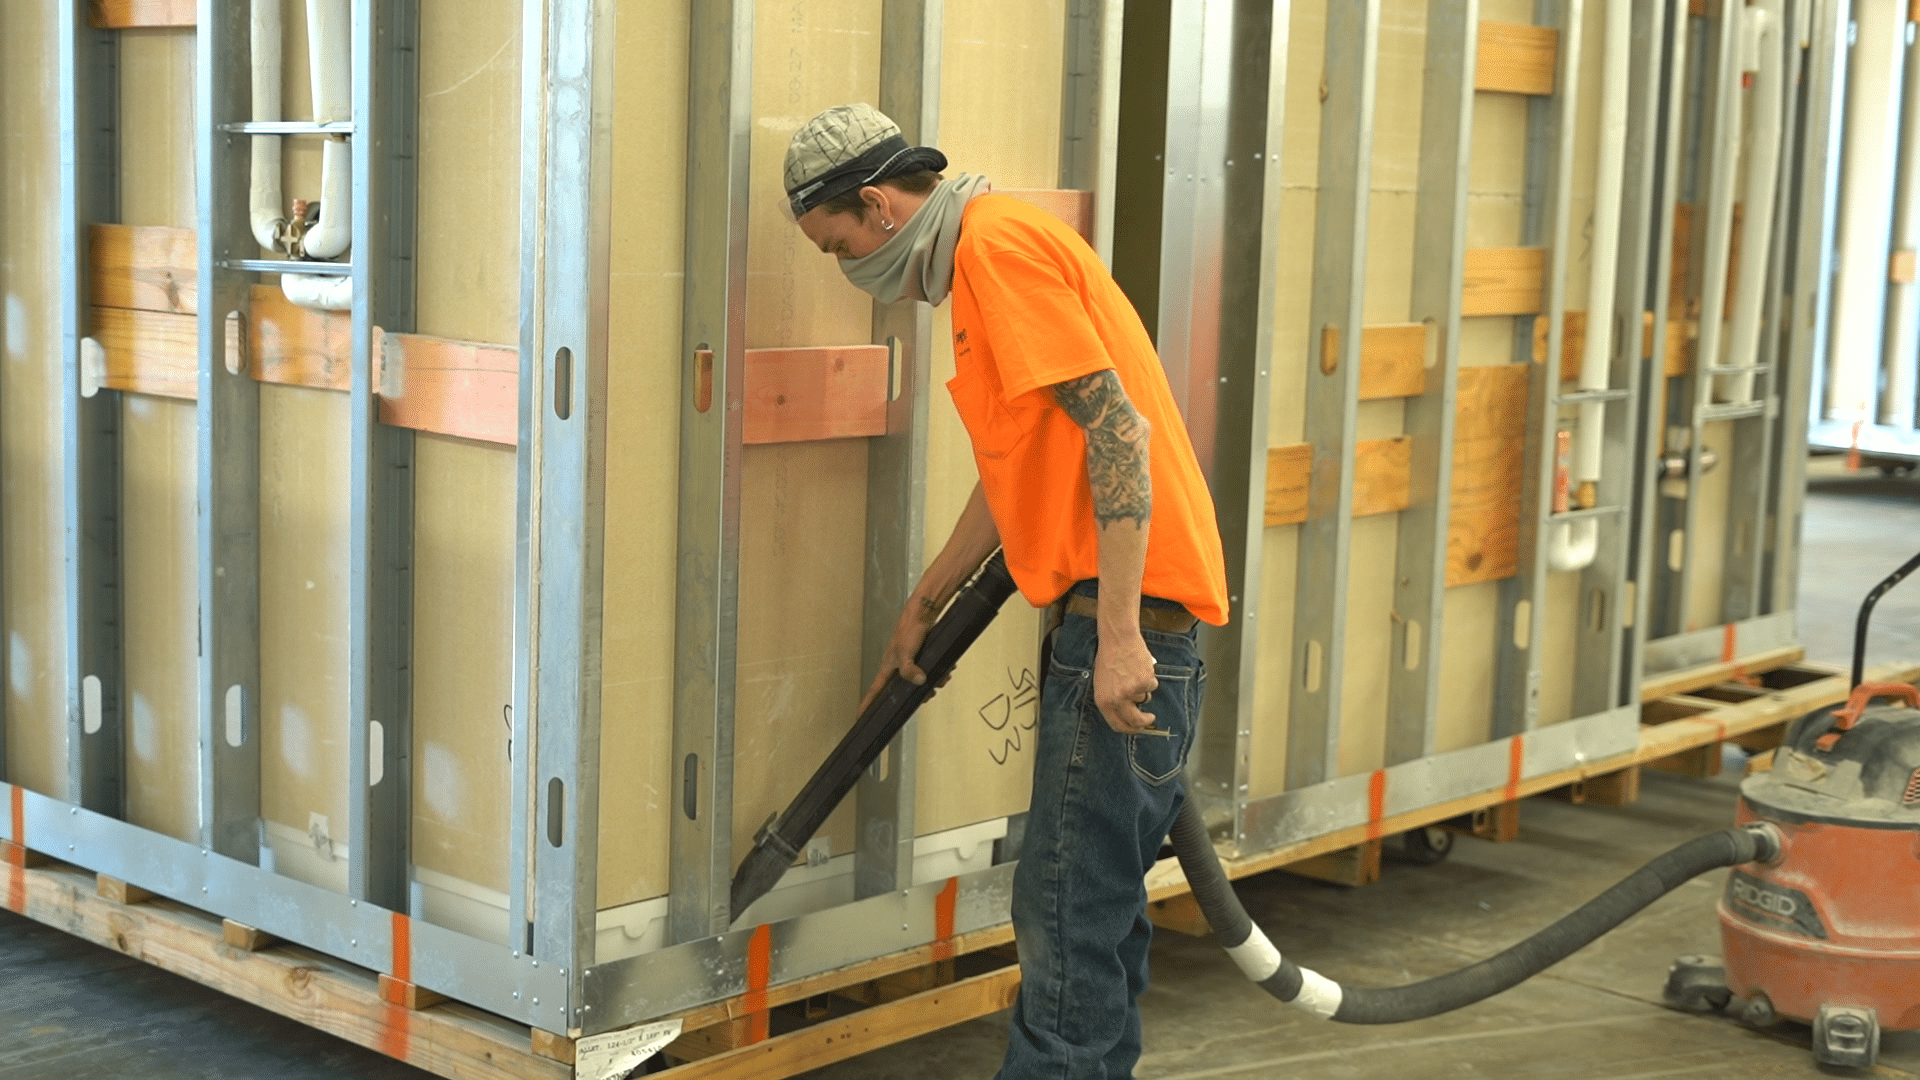
While this may seem like a no-brainer, if you don’t emphasis it as a step in the process, it may get ignored. Be sure that any excess debris from the manufacturing process is swept, vacuumed, or air-blown out of all the pockets and spaces of your unit before you begin packaging. In addition to creating a tidy appearance, this step prevents any debris from causing abrasion during the transit.
Water residue usually isn’t a problem, but if there is water buildup in or around the module, be sure that it’s dried up before covering your unit. Water, when it sits for long periods can cause metal to rust and can begin to form mold and mildew. Especially if it’s in a hot or humid environment.
Overall, this step helps ensure every module is clean and inspection-ready: creating a solid first impression for your customer.
Pad and cover all sharp corners and edges
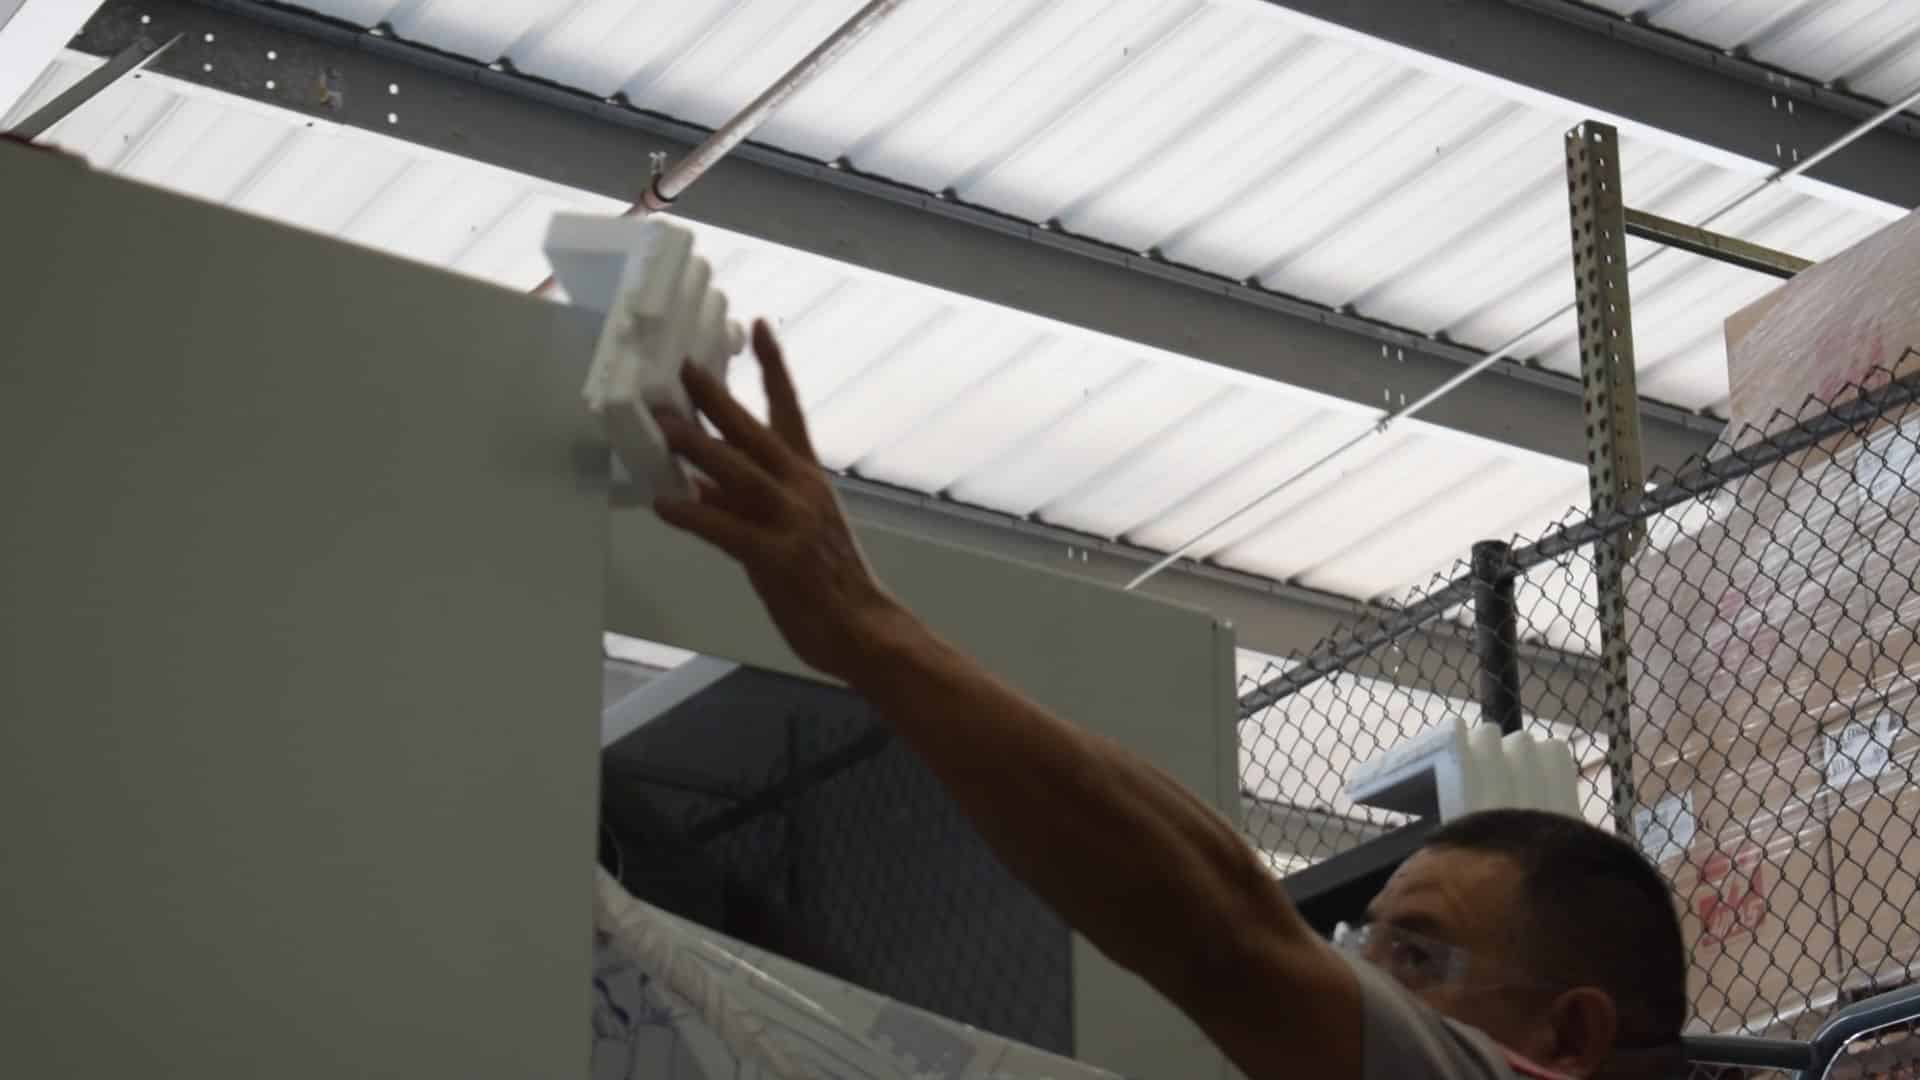
Using foam pieces, cardboard pieces, or reinforcement tape, pad all sharp corners and edges of your module before covering it. During flatbed transit modular units can face winds in excess of 70 mph, this can cause your cover solution – shrink wrap, cover, tarp, etc. – to snag and tear on sharp points. The result of a significant tear can cause your cover to blow off or be shred apart unless immediately repaired.
Pad or bend down any protruding elements
If possible, the outer surfaces of your modular units should be kept as flush as possible. Obviously, this isn’t always the case during manufacturing. If it’s possible without damaging the functionality of the unit’s utility fixtures, all protruding elements should be bent within, or flush, with the frames of the unit to reduce tension on your cover or wrapping solution. You can do this with a rubber mallet or good old-fashioned elbow grease.
If your unit has protruding elements that are not malleable, then generously pad these areas with foam, cardboard, or tape like you did with the corners and edges.
Covering or bending down these areas is a proactive way to avoid rips and tears in your protective wrap or bag solution during transportation.
Secure any objects inside the unit that may move during transportation
If there are any loose inputs or fixtures (mirrors, doors, drawers, etc.) that will be accompanying your unit be sure they are are secured, tied down, or stowed away so they don’t shift or move during transportation.
Cover and seal all entry points using plastic sheeting and tape
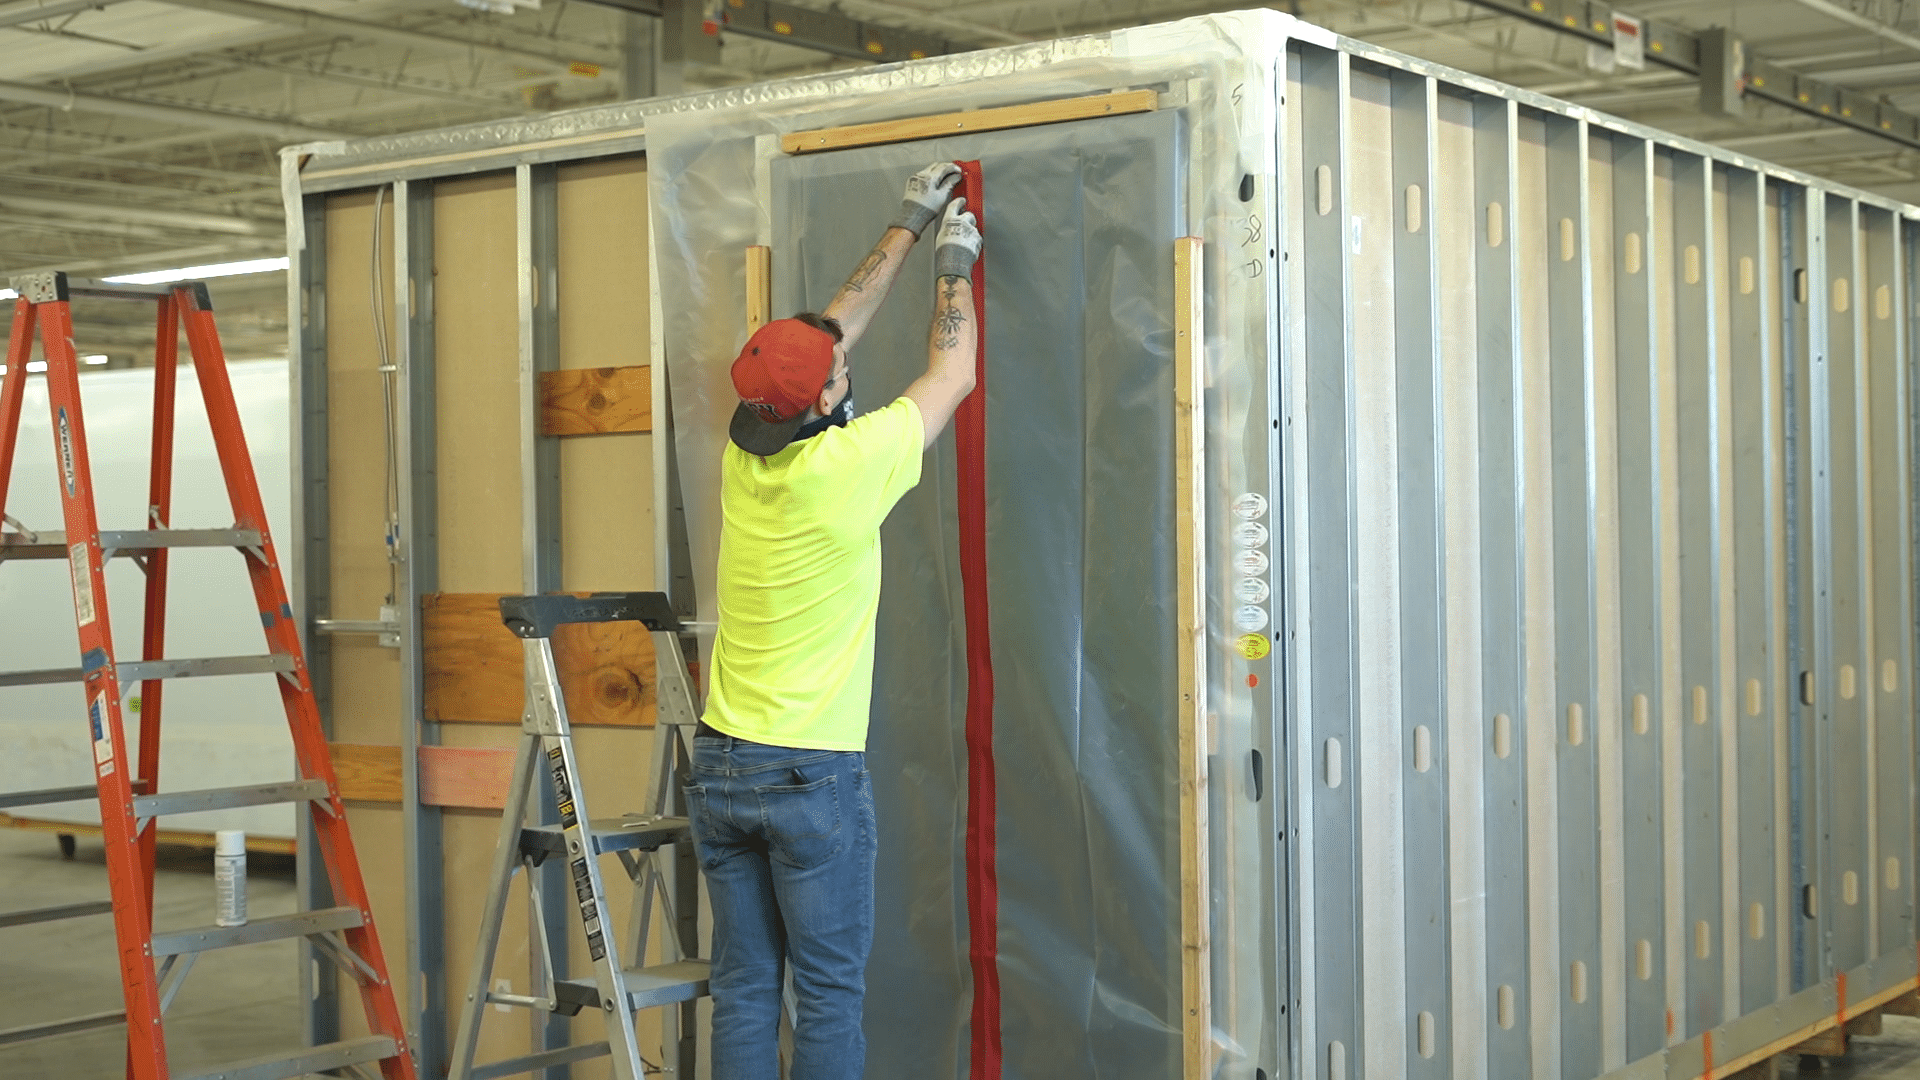
All entry points, doors, vents, window openings, etc. should be sealed with plastic sheeting, cardboard, or tape. As a compliment to your protective solution, sealing any openings in your unit will act as an extra layer of protection – preventing dust, debris, and water from getting inside.
It’s also a good practice to install zipper access on your unit’s door opening – this will make inspections easier and allow the sealing and resealing of the plastic if your unit is being stored in a yard or on a jobsite awaiting installation.
Protect your unit with a protective cover, bag, shrink-wrap, or tarp
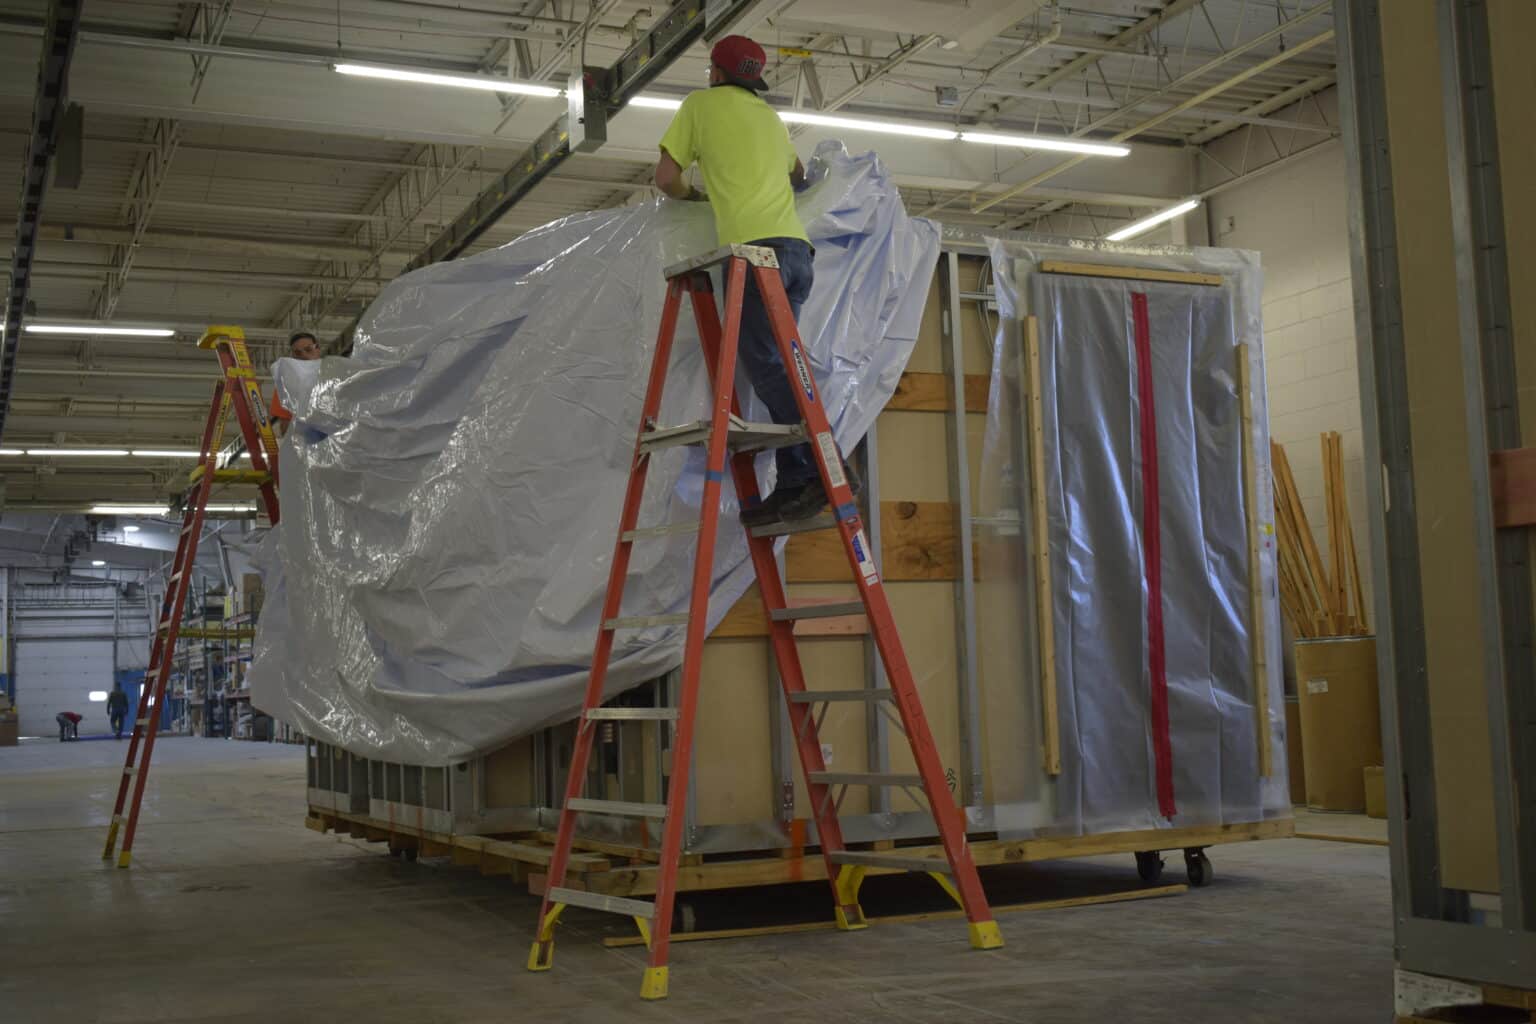
This step in the process is largely determined by what kind of protective solution you deploy. For the purposes of this guide we’ll just give you some general best practice pointers that you should check off when installing a protective solution, whether it’s shrink wrap, premade bag, cover, or a tarp:
- Eliminate as much loose slack as possible
- When your cover or shrink wrap is baggy and loose it can cause abrasion underneath the cover and create opportunities for wind to tunnel in and blow off the cover or significantly tear it
- Make sure the cover is sealed to prevent wind from tunneling in
- This can be done by securing the cover to your rigging or pallet, taping it to the base of the unit, or placing your unit on top of your cover solution, creating a “clamshell” effect
- However you do it, it’s important to ensure your unit is sealed to prevent wind, road grime, and water from entering
- For shrinkable covers, bags, and shrink wrap:
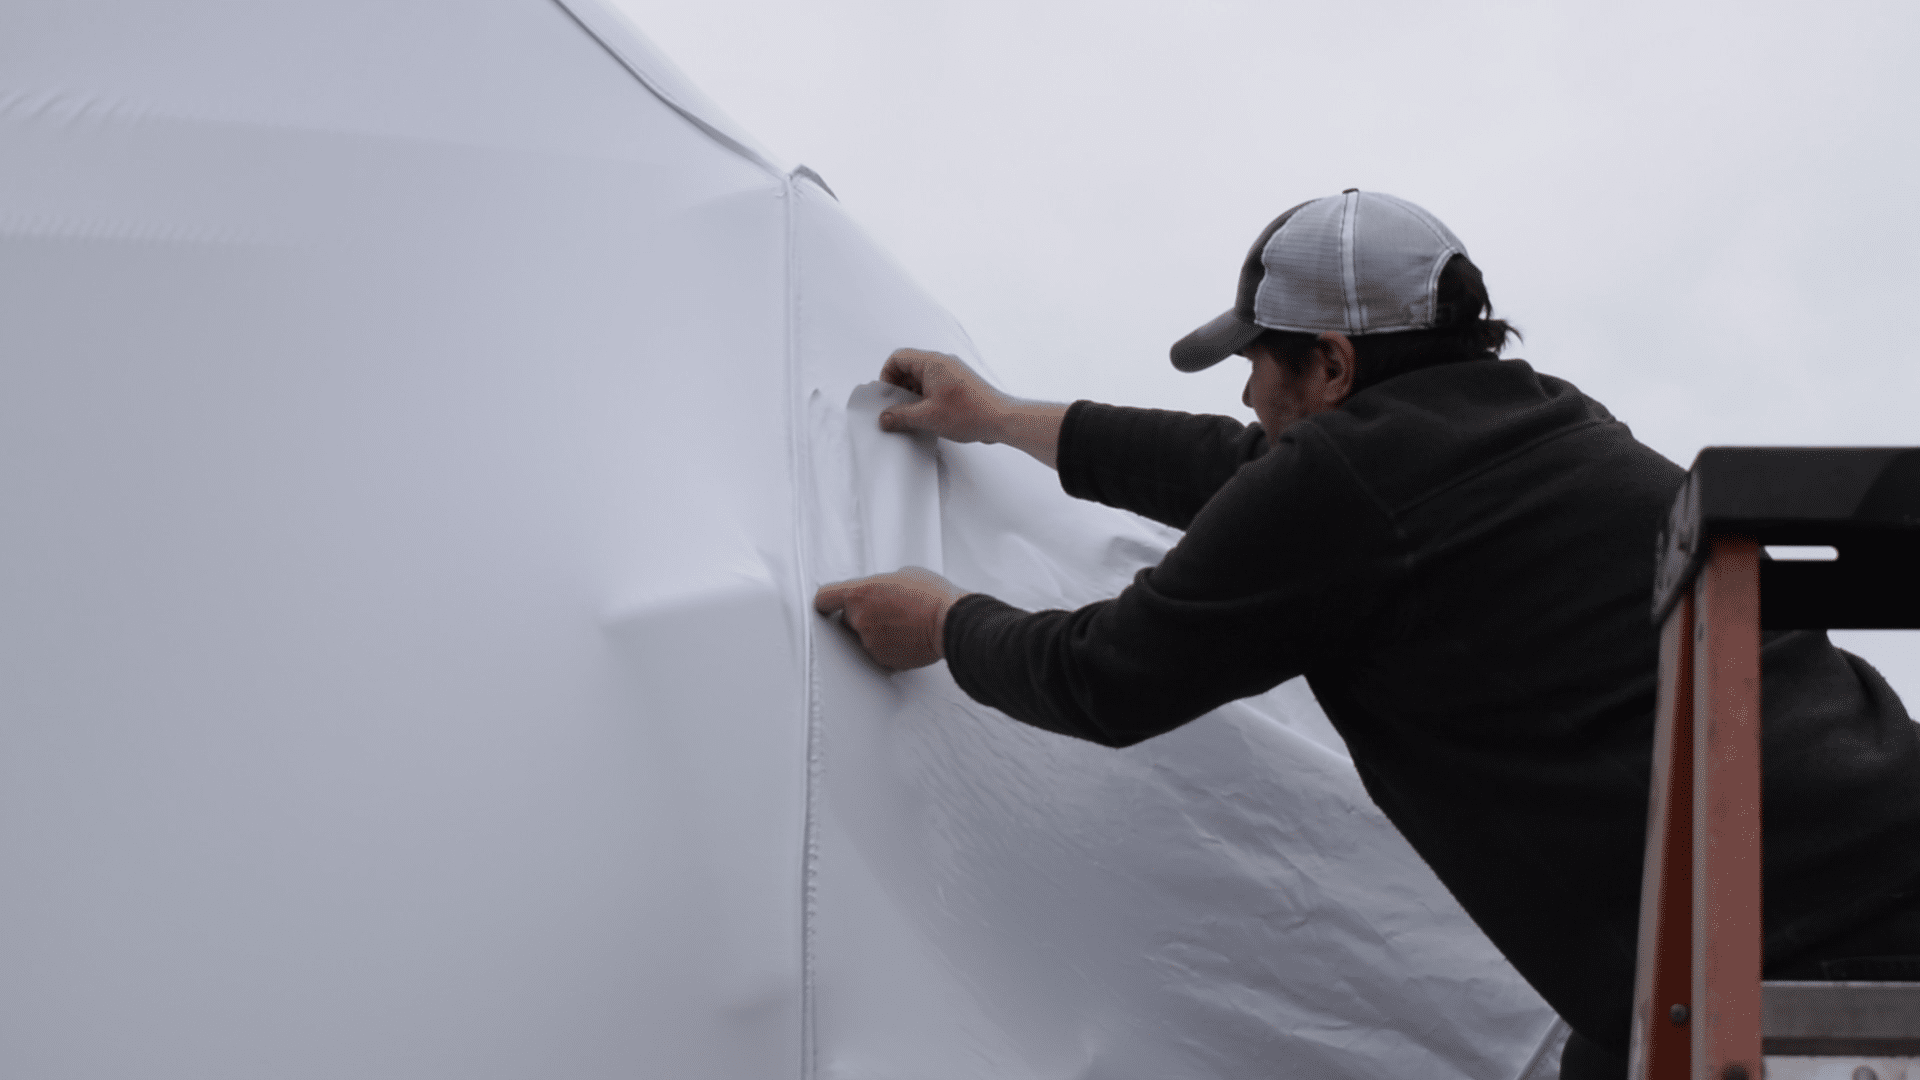
- Heat shrinking is a great benefit because it tightens and conforms the cover or shrink wrap to the shape of your unit – making it aerodynamic for transit and providing a better-looking solution (most of the time). When using shrink wrap or a shrinkable solution keep these tips in mind:
- Use a reliable heat gun or torch tool (Shrinkfast Heat Tools is who we recommend) and have extension attachments for the tool for the hard to reach areas of your module
- Use a regulator to ensure the right amount of pressure for your heat tool – 22 PSI is standard factor settings for the Shrinkfast guns, but pressure may vary for other heat tools. Applying too much heat can burn a hole through your wrap, and may even burn your pod if you’re not careful
- Leave a small opening or vent at one end of your cover to allow air to escape while heat shrinking
- Pick one area to start heating at (preferably the small opening for ventilation), and shrink in a uniform direction – top to bottom or vis versa, clockwise or counterclockwise
- End your heat shrinking at the vented area to allow all the hot air to escape, then heat shrink and cover the vented area
- For more details on how to use a heat gun and how to heat shrink, check out our instructional video on YouTube
- Heat shrinking is a great benefit because it tightens and conforms the cover or shrink wrap to the shape of your unit – making it aerodynamic for transit and providing a better-looking solution (most of the time). When using shrink wrap or a shrinkable solution keep these tips in mind:
Reinforce your cover with marine-grade tape
Once your cover or wrap is installed its good practice to reinforce the stress points of the cover with reinforcement tape like marine grade tape or a strong duct tape of some kind. We recommend cautioning on the side of over-taping when reinforcing stress points. You want to make sure your cover is strong at all the stress points to avoid tears and road grime intrusion. At the minimum, apply tape to the following areas:
- The base of the cover to ensure a sealed fit
- All corners and edge points
- Any protruding “tension points” on the cover
- Any seams
Cover any rigging holes made in the cover
Many times, your rigging setup will require putting holes in your cover to allow access to the rigging mechanism underneath. If this is the case, be sure to tape and cover the holes that are created from doing so. Even the smallest of openings can allow road grime and water to enter and can also lead to wind tunneling causing a cover blow-off.
Label your cover properly
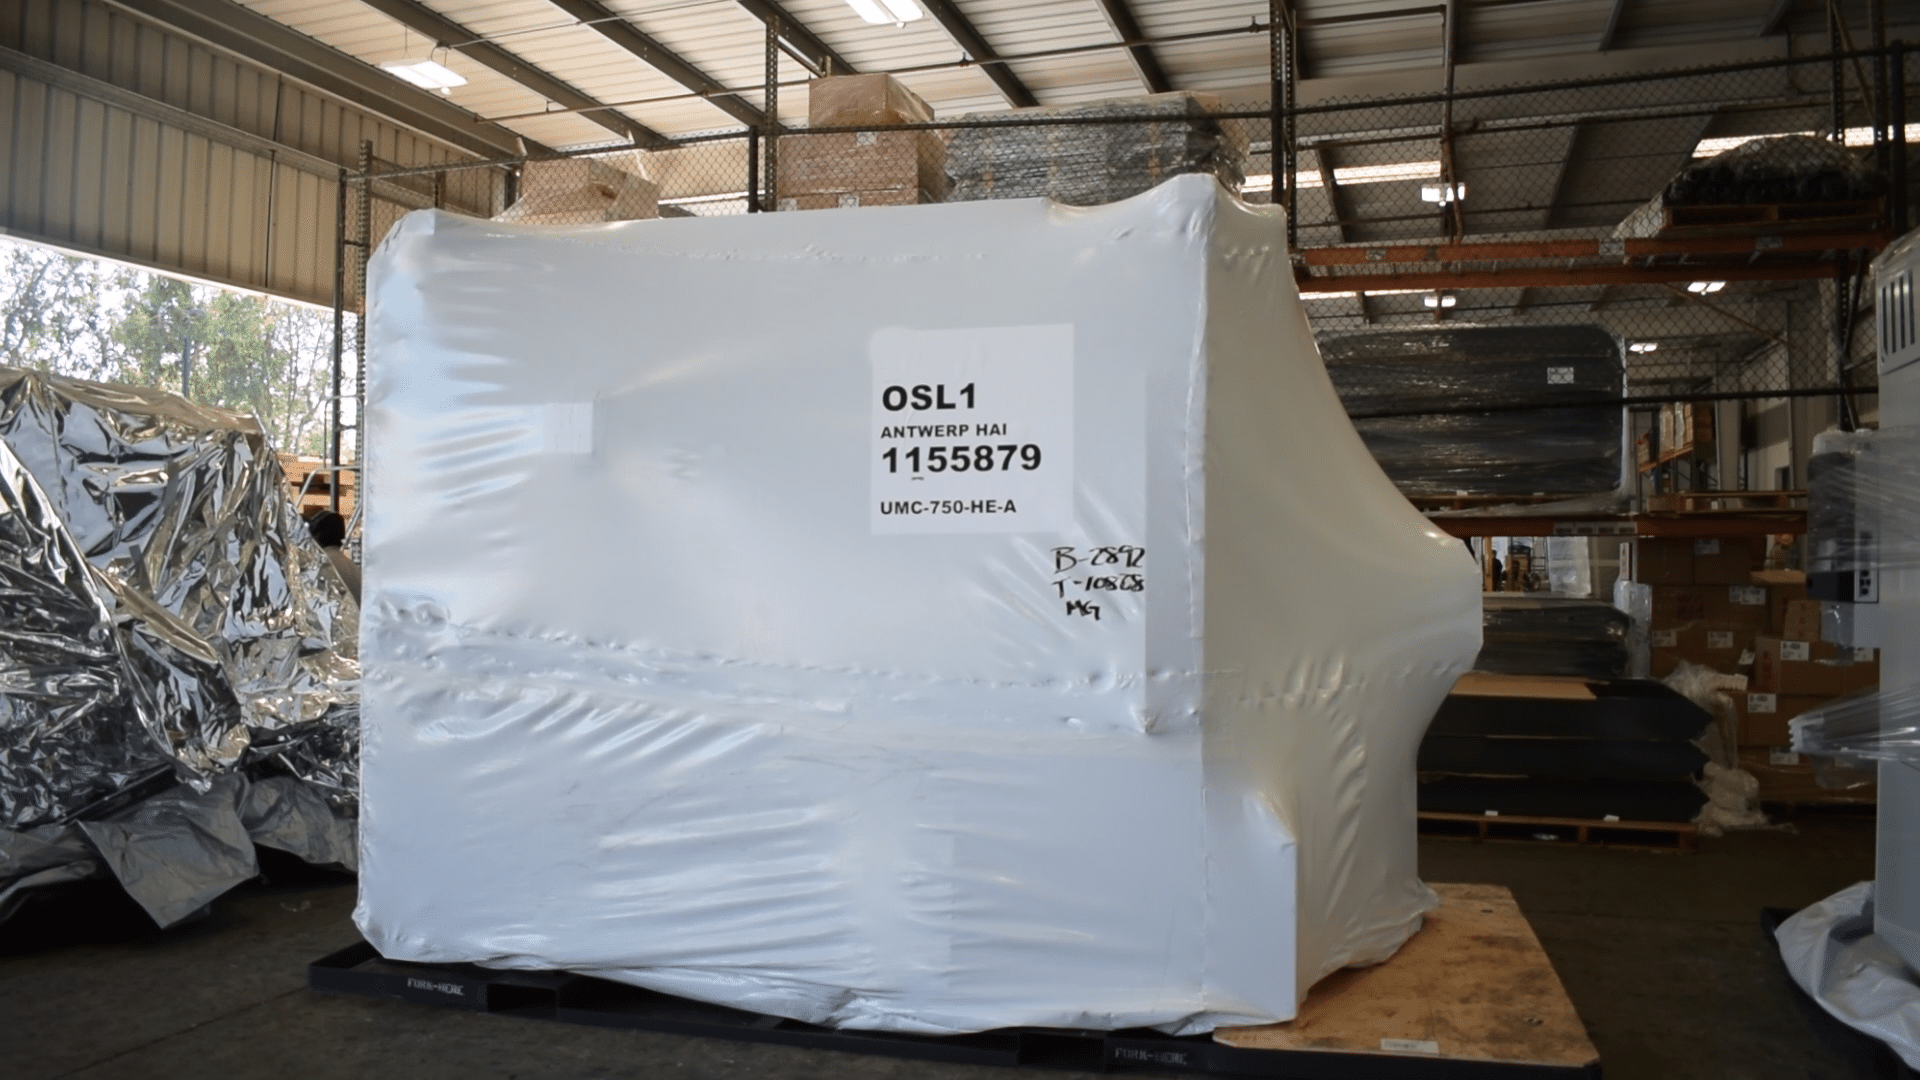
Your modular unit is almost ready to hit the road! But before you send it on its way don’t forget to take advantage of the blank canvas that is your cover. Of course, it depends on your module’s configuration, and the type of protection you use, but the following are some examples of good labels and markings you can, and should, apply to your cover:
- Your logo and any branding slogans
- Door entry and inspection points underneath the cover
- Relevant product data – unit number, product identifier, date produced, etc.
- Material handling labels — handle with care, lift here, etc.
Applying labeling can assist in keeping track of you unit internally, provide a branded finish when arriving at your customer, and give material handlers guidance on the best way to move and handle the module.
Inspect
Do a walkaround of the covered module one last time to inspect for any holes or tears, uncovered openings, and to apply reinforcement tape on any missed or new tension points.
Conclusion
The packaging process for modular units is often the last step in the build. And often, it can be the step that gets most overlooked. But failing to adequately protect your pods can be bad for business; damaged and blemished pods don’t reflect well on your brand, and can end up costing you money in repairs, replacements, and warranty claims. That’s why it’s crucial you have a standardized packaging process in place that gets your units to their end-destination in factory fresh condition, every time. The result will be a better looking and functioning unit, and a happier customer.
Whether you’re looking to completely revamp your packaging process, or you’re researching new techniques to become more efficient, we hope you were able to take something from this guide. If you need a template to help streamline your modular packaging process, download our pre-filled packaging process guide for modular units that you can edit and make your own.
And if you’re looking for a new protective cover solution for your modular units that’s cost effective with minimal labor – check out Transhield’s custom-fit protective covers.