How to Install TopCure®
Protective Covers
TopCure is an effective, safe, and easy-to-use solution for wet curing on both large and small concrete projects. In this tutorial, we’ll show you the proper way to install TopCure to help ensure your concrete cures to its ultimate top-layer strength.
Installation Instructions
Step 1: Preparation
Immediately after the final finish, start the wet cure process.
Step 2: Flooding the Area
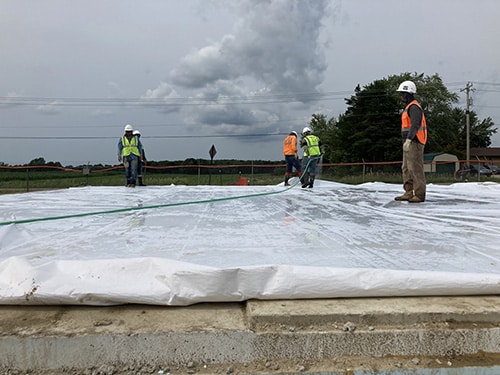
Working in sections, flood the area ahead of the roll with water. Slowly unroll material on top of the water, being sure to avoid wrinkles as much as possible.
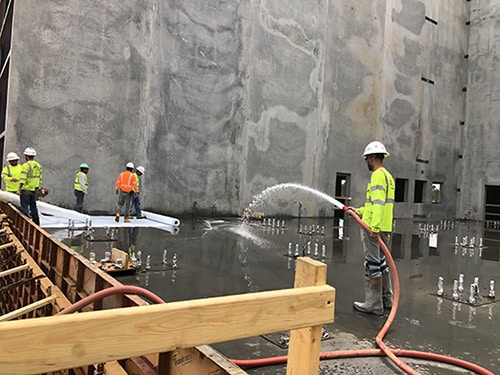
Step 3: Rolling Out TopCure
Begin rolling out TopCure along the edge of the slab while simultaneously spraying the inner fabric layer with water. Ensure the fabric side is completely saturated.
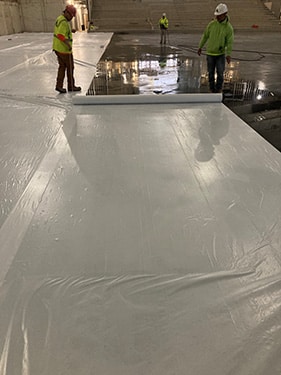
Step 4: Covering the Slab
Continue unrolling and saturating the material with water. The material should “float” on the water.
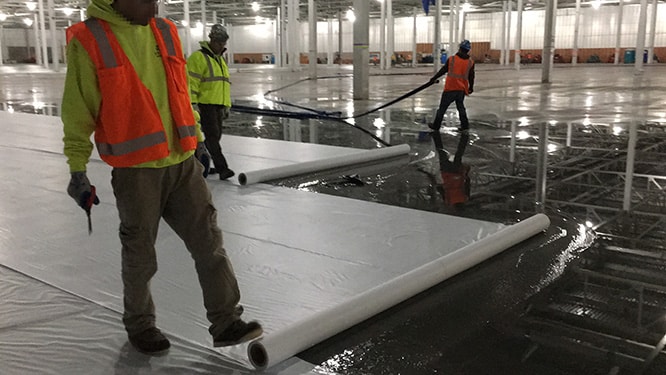
Overlap edges by at least 6 inches.
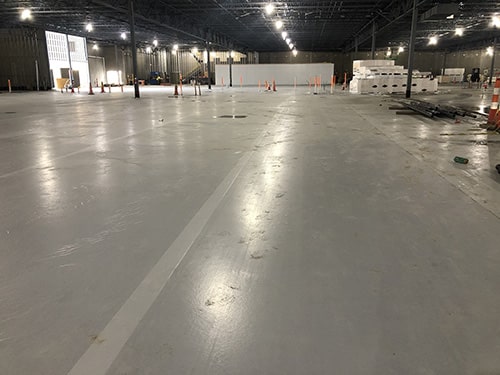
Avoid creases in the material to prevent tiger stripes and blemishes.
Step 5: Securing the Material
For outdoor use, weigh down the edges and seams with rebar, 2x4s, or similar weights to prevent air from getting underneath. Alternatively, or in addition, if the slab is level and flat, you can add water across the surface of the blanket to act as extra weight.
Step 6: Removal
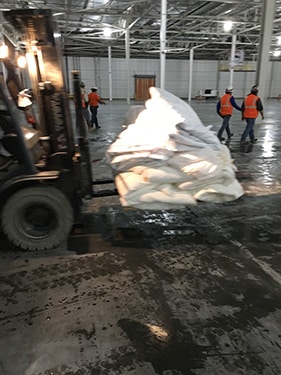
After the specified curing time, remove TopCure and dispose.
Why Choose TopCure?
By choosing TopCure, you’ll ensure a steady, strong, and protected cure for your concrete projects. Its ease of use, SAP-free composition, and ability to lay flat without rewetting make it the superior choice for concrete curing. Optimize your concrete curing process with TopCure and experience the difference in quality and efficiency.
For more information about TopCure and how it can benefit your next concrete project, visit our product page.
Have questions or need a quote for an upcoming project? Contact us directly.


